May 3, 2019
If you’d like to get a feel for the basics of the OSDI API, but aren’t a coder, this lesson is a quick learning example on how the OSDI protocol works. We’ll focus on one of the most common scenarios, which is to insert or update a person, and add a tag. It’s also campaign manager safe, (protective headgear recommended)
We’ll use the OSDI sandbox, which is a working OSDI front end attached to a mock-crm. It generates a sample dataset which you can interact with via the OSDI protocol endpoint browser, or the admin UI. It will also show you the deltas on resources that happen as a result of an API call or UI operation.
Together, we wil accomplish the following tasks:
OSDI’s formative goal is to create a more level playing field so that minorities, marginalized communities, and those customers with less resources can mix and match, integrate, automate, and add value even if they don’t have the major resources of a $12m statewide gay marriage or national presidential campaign. At the same time, marginalized innovators who don’t have jobs at big firms or technical degrees can self-educate and provide value by reusing the common framework and pooled resources.
An example of this is that if you were to write code to perform the scenarios in this lesson, that code can work virtually unchanged against a number of systems via native and proxied OSDI implementations including VAN/EveryAction, Action Network, TheDataBank, Salsa Engage, Salesforce, Spoke and others. Without a common standard, if you are a marginalized innovator who came up with a good feature idea that could be provided to customers as an add-on at a reasonable price, you’d need to duplicate your integration work for each platform’s proprietary API. Since one needs to put food on the table, there would be pressure to just support the biggest platform to keep prices low and support the most customers, but leave out grassroots projects, and be unable to act in solidarity with potential minority projects coming from TransTech, Black Lives Matter et al.
Finally, to ensure that the effort stays focused on lifting up marginalized communities, OSDI has a governance structure that divides power and responsibility into shards that can be spread across the spectrum. This allows smaller customers and innovators to share power, and share the work, so that it is not dominated by entities with the most power and money.
Visit http://public.demo.osdi.io and create a new account
Click setup a new tenant.
For your slug, to avoid duplicates, pick something unique with your name, eg ‘chrisosdi’
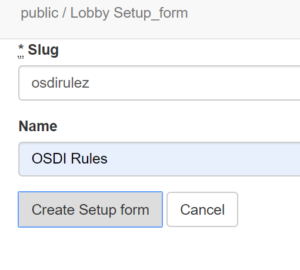
Once you’ve done that, click the “Visit” button in the lobby screen, which will take you to your new sandbox
![]()
Once you are in your new tenant, you’ll see the main dashboard. This shows you basic stats on your sample dataset, which you can explore. You’ll also see buttons to manage the dataset, and access the HAL Browser and your OSDI API token
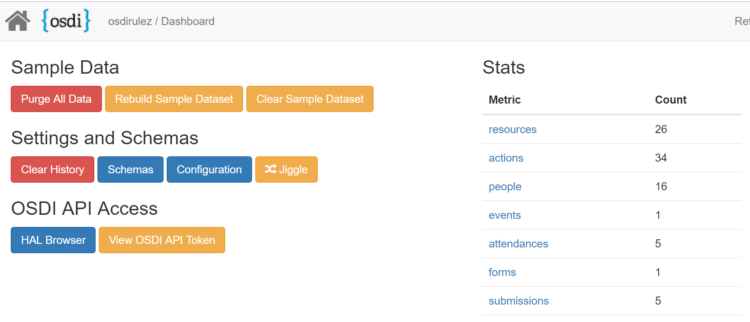
In the Stats table, click the link for “people”.
You’ll see the people in your sample dataset. (You can also use “Resources”->”People” via the navbar to get here)

Click “Show” on the first record.
You’ll now see the edit screen which shows their data in the form of the OSDI Person Resource structure, and links for their associated resources like taggings.
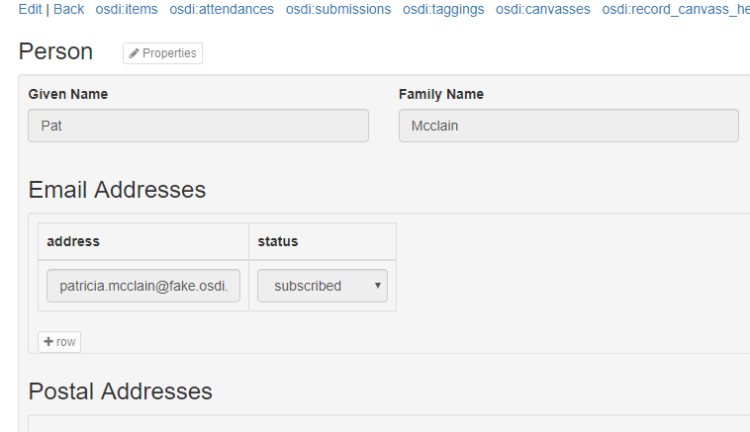
You can see more about the OSDI Person Resource here:
https://opensupporter.github.io/osdi-docs/people.html
Click “Dashboard” on the navbar to return to your home screen.
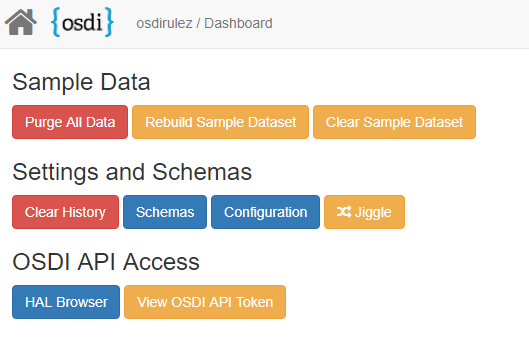
Click the blue “HAL Browser” button
A new tab will open with the HAL Browser viewing the OSDI API Entry Point (AEP).
The AEP is the API version of a home screen or dashboard for programmatic API clients when accessing an OSDI server. It lists the available resources, helper functions and metadata that an OSDI client will use to interact with the server. You can read more about the OSDI API Entry Point (AEP) here: https://opensupporter.github.io/osdi-docs/aep.html
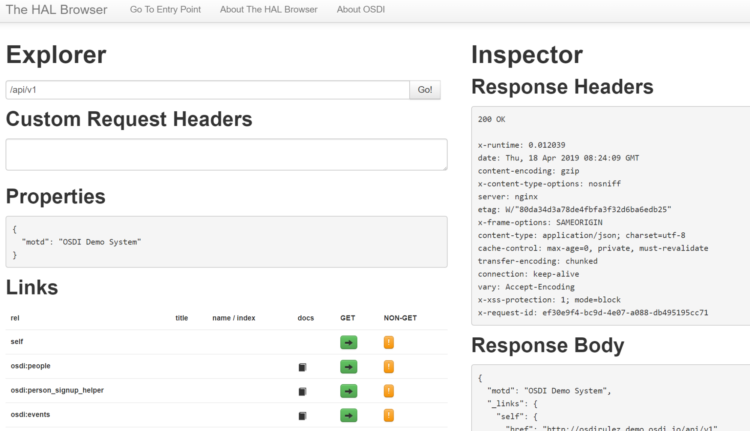
Click the green arrow button for a GET on the “osdi:people” collection.
This will show the first page of people in your sandbox, which should include the person we viewed through the UI.
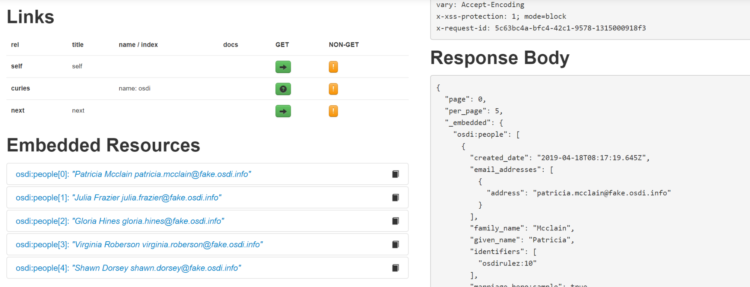
We’re going to create a new person named “Testy McTesterson” who’s email address is testy.mctesterson@fake.osdi.info by using the OSDI Person Signup Helper. You can read more about this helper at https://opensupporter.github.io/osdi-docs/person_signup.html
Click the “Go To Entry Point” in the HAL browser navbar, then scroll to the Links section on the left side.
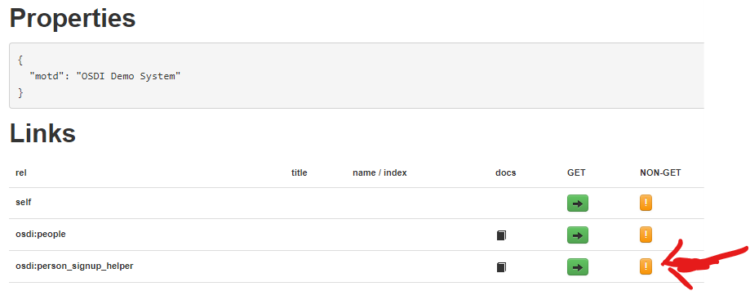
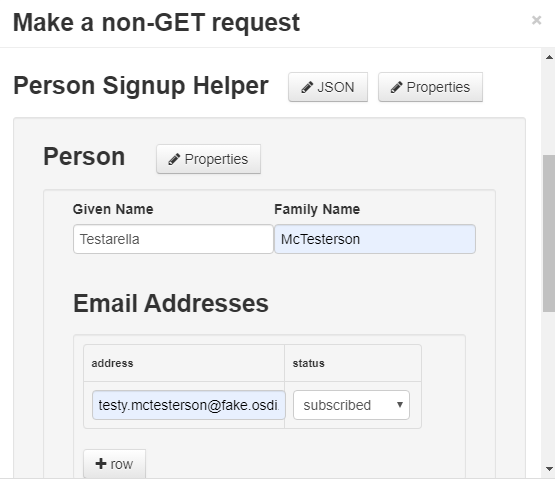
Now click the “non-GET” button in the row for “osdi:person_signup_helper”, and a dialog will appear. Fill in the person information above and it should look like this:
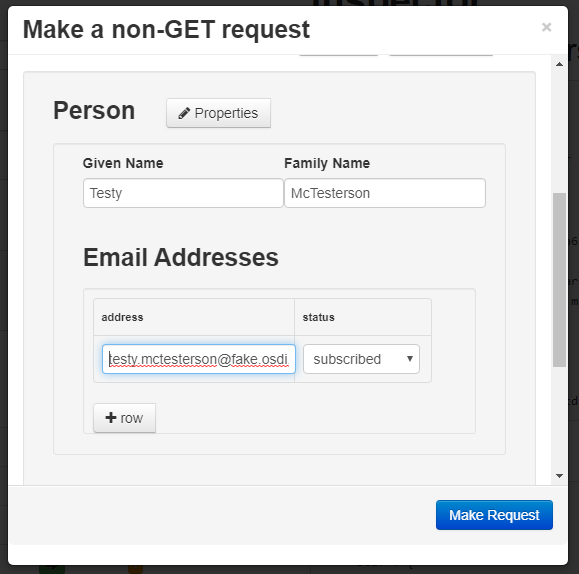
Once you’ve filled this out, click “Make Request”.
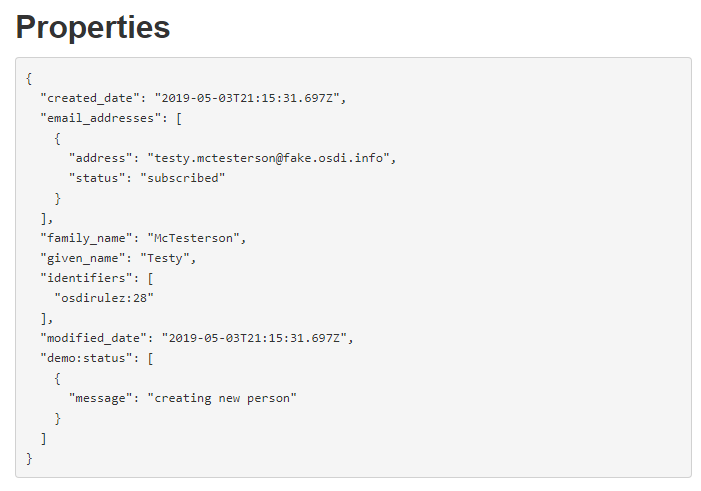
Once completed, the system will show your newly created person’s properties and links.
Return to your Admin Dashboard and click “Refresh”.
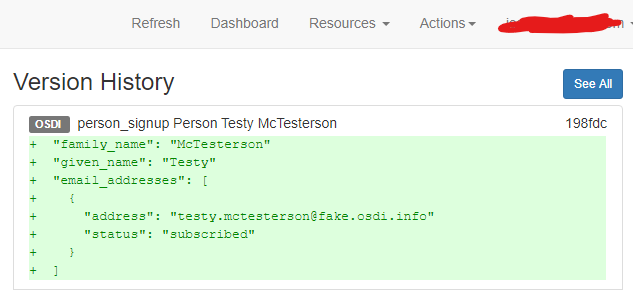
On the right side you should now see the newly created person in the Version History
Now we’re going to update our new person by changing their first name to “Testarella”, and adding a tag “volunteer” and adding them to a list called “squeaky_wheels”
Go back to your HAL Browser tab and click “Go To Entry Point” again.
Click the make non-get request button for “osdi:person_signup_helper” to launch dialog
Fill out the information (including email address), and under “add_lists” and “add_tags” click the “+Name” button to add a new value.
Once filled out, your form should look like:
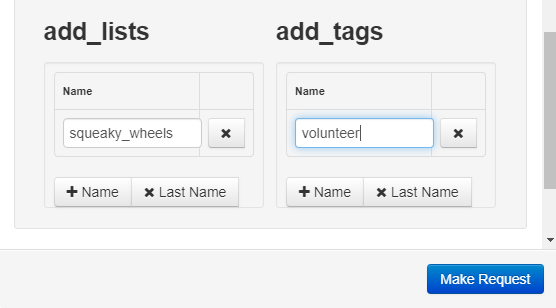
Click “Make Request”, and the system will return the updated record.
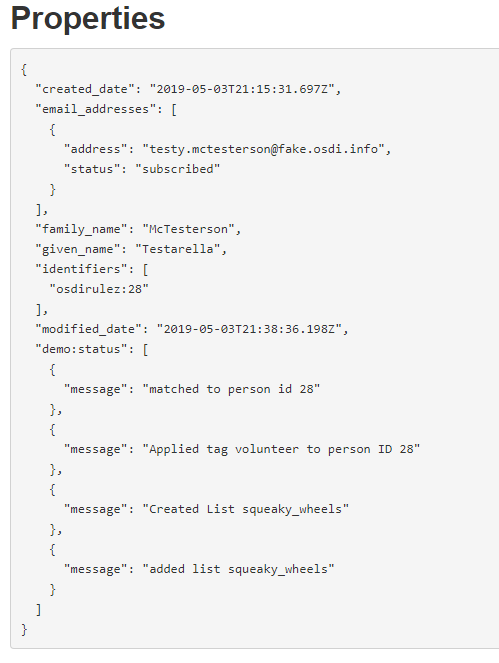
Along with the person’s properties, the “demo:status” attribute gives you information on what happened. It matched based on email to the exusting person with id 28, and added the list and tag (autocreating as needed)
Now return to your Admin Dashboard UI tab and refresh it. In the Version History on the right, you’ll now see those updates and the diffs.
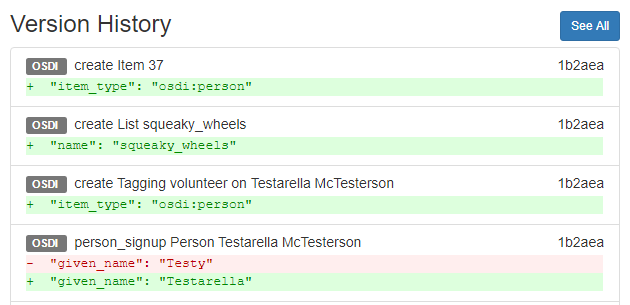
What both the demo:status and the UI Versioning is telling us it did is: